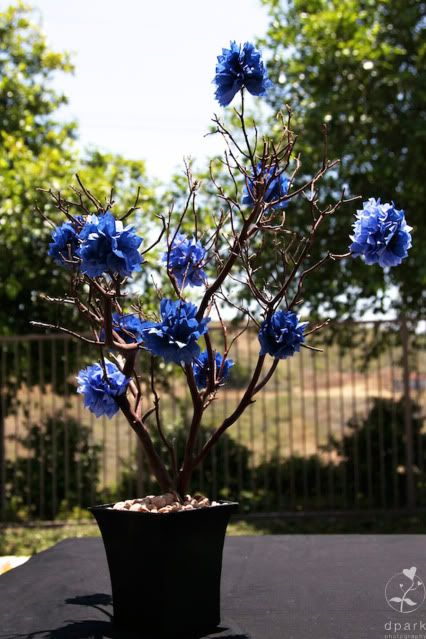
Birthday party requests don't come around as often as weddings do. So I admit that I have a personal project I took on recently. We'll call it "Project Scooby Doo." The challenge for me was taking Scooby Doo and interpreting him into something a little more refined. Here is what I came up with for a 4 year old birthday party. It was a little windy at the park, just in case you couldn't tell.

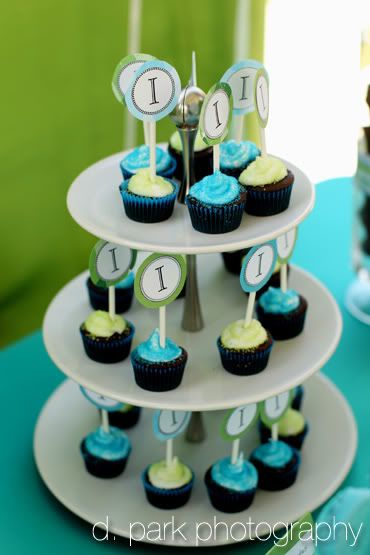
Try not to drool over the home-made treats of mini-cupcakes and chocolate dipped Oreos by Lisa Le.
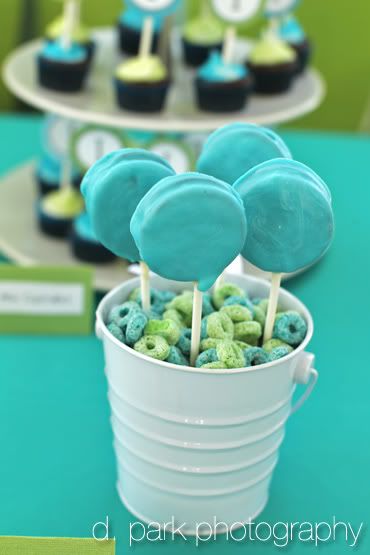
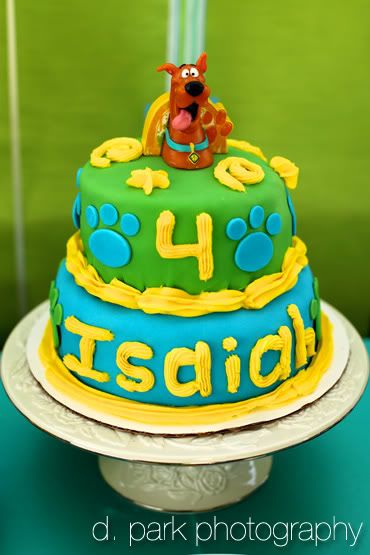
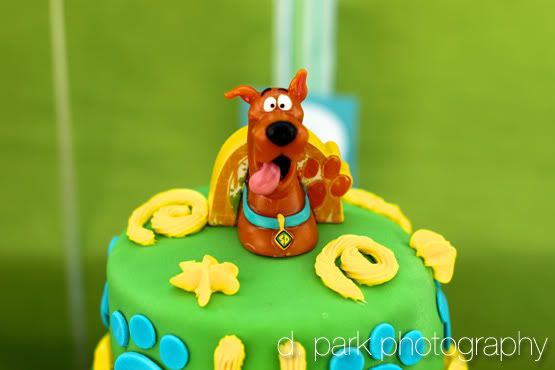
Lisa was also responsible for making that awesome Scooby Doo cake and rice crispy pops!

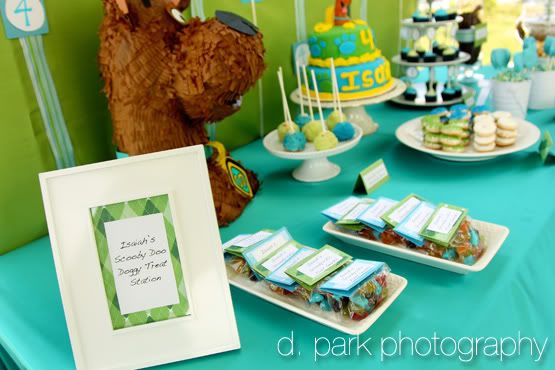
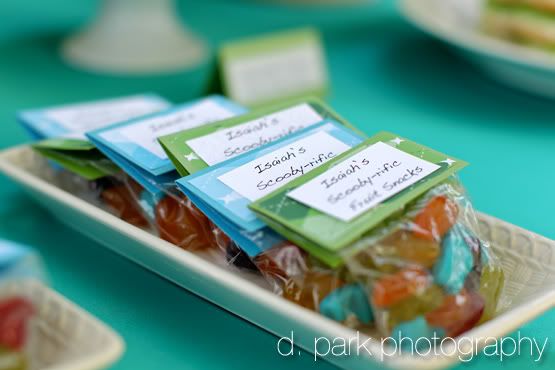
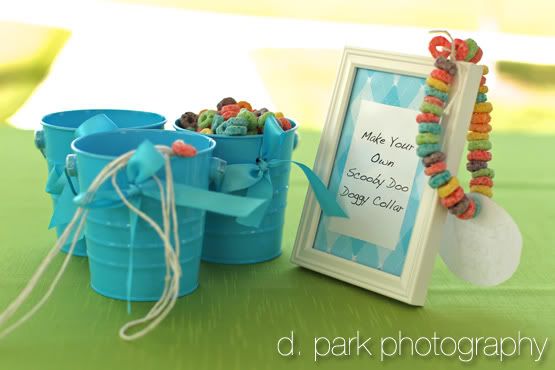
This little personalization idea of the Scooby Doo fruit snacks were from Linda Ly of Grand Soirees. And they were a huge hit!
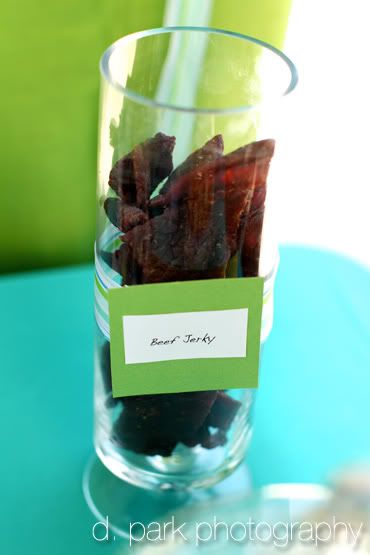
Doggy treat stations can't be complete without any meat.
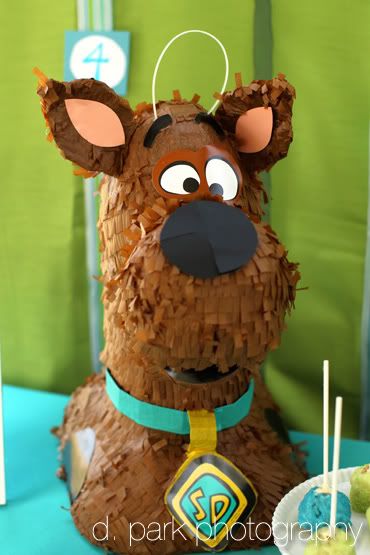
And Scooby Doo MUST make an appearance!
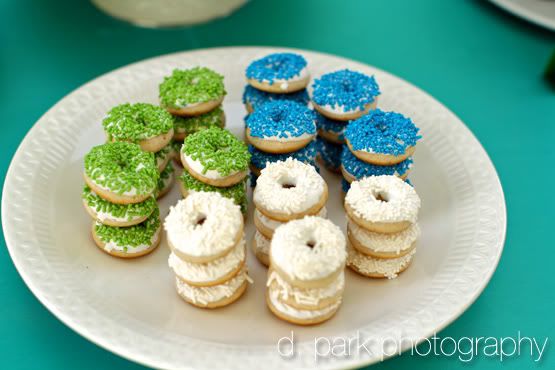
Dough A Deer Donuts made this gorgeous contribution to the dessert table!
Trust me, there were no donuts left at the end of the party.
Activities for the kids included these stations:

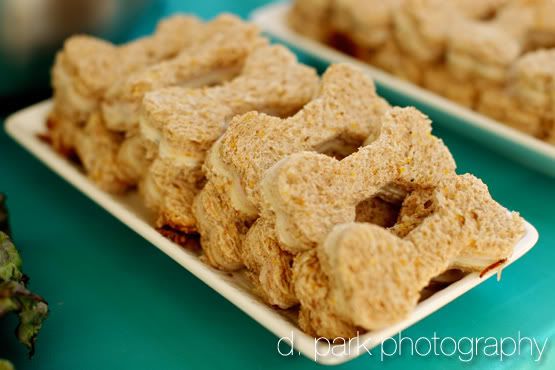
The kids had a special lunch treat of Scooby Dooby Doo dog bone shaped sandwiches!
Hope this inspired you to dec' out your own kiddie party! Cheers!
Credits
Event Design and Styling: Floral Sense
Photography: D Park Photography
Desserts (cake, pops and cupcakes): Lisa Le
Mini Donuts: Dough A Deer Donuts
Linens: Fusion Linens
Try not to drool over the home-made treats of mini-cupcakes and chocolate dipped Oreos by Lisa Le.
Lisa was also responsible for making that awesome Scooby Doo cake and rice crispy pops!
This little personalization idea of the Scooby Doo fruit snacks were from Linda Ly of Grand Soirees. And they were a huge hit!
Doggy treat stations can't be complete without any meat.
And Scooby Doo MUST make an appearance!
Dough A Deer Donuts made this gorgeous contribution to the dessert table!
Trust me, there were no donuts left at the end of the party.
Activities for the kids included these stations:
The kids had a special lunch treat of Scooby Dooby Doo dog bone shaped sandwiches!
Hope this inspired you to dec' out your own kiddie party! Cheers!
Credits
Event Design and Styling: Floral Sense
Photography: D Park Photography
Desserts (cake, pops and cupcakes): Lisa Le
Mini Donuts: Dough A Deer Donuts
Linens: Fusion Linens

.jpg)


